The process of switching from one reseller hosting provider to another is a lengthy process, but it doesn’t have to be complicated and stressful
If, for whatever reason, you are unhappy with your current reseller hosting provider, then the best thing to do is to look for a new web hosting company and migrate your reseller hosting account. However, you need to carefully consider going this route and ensure that your customers’ websites are not adversely affected by the transfer process.
In order to make the process go smoothly and prevent issues from affecting your websites and those of your clients’, follow these steps for migrating to a new reseller hosting provider.
Migrating Your cPanel Reseller Hosting Account to A New Hosting Environment
Step 1: Choose a new parent web hosting company
Make sure that the new web hosting company you are transferring to provides free migration for your cPanel reseller hosting accounts. There are companies that will move all your accounts for free, while there are others that provide this complimentary service for only a few accounts, and charge extra for subsequent ones.
Before you decide on a new hosting provider, make sure that they are running the latest version of cPanel, as well as the same or newer versions of PHP, Apache and SQL. If you or your clients have websites that require any custom PHP/Perl extensions, make certain that the company you are switching to will install these for you prior to the migration.
Once you are satisfied that the new web hosting provider meets all your requirements and your account is compatible with their servers and the package you’ve selected, then feel free to sign up for a reseller hosting account.
Tip: DO NOT cancel your old hosting provider account until you have transferred all your accounts to your new reseller hosting environment. Your existing hosting account must have an active cPanel account so that you can migrate your websites from the old host to the new one.
Step 2: Generate full cPanel backups for each of your accounts
Login to the cPanel of each of your accounts in the old server and generate full backups for each of them through the Backup section of cPanel. Then, download the backups to your local computer. You can use the cPanel File Manager for smaller backups (under 1GB). However, the most recommended method is FTP or File Transfer Protocol.
If you have databases on your old account, you also need to backup your databases. You should contact your old web host for instructions on how to do this.
Tip: Remember to be patient; do not initiate multiple backups simultaneously because this may result in load issues on your old server. If this happens, system administrators may kill your backup processes. You can read the full documentation regarding the cPanel Backup Wizard here: https://documentation.cpanel.net/display/68Docs/Backup+Wizard.
Step 3: Create a new cPanel account in your new reseller hosting plan and upload the backups
Once you have the full backups of your resold accounts downloaded to your local machine, you can upload the backup files to your new reseller hosting account.
- Navigate to cPanel > File Manager
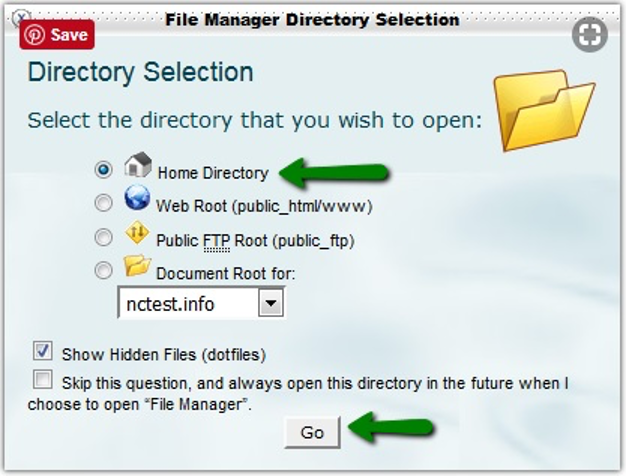
- Select Home Directory
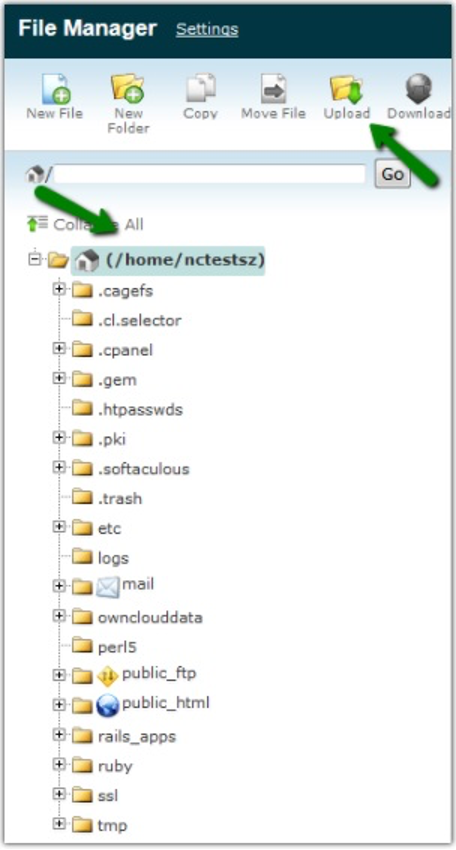
- Click the Upload button to upload the full cPanel backup
If you backed up databases from your old host, you should also restore these via SSH or cPanel’s phpMyAdmin.
Step 4: Submit ticket for transfer assistance
Once the backups have been uploaded to your new server, you must contact your new web hosting provider’s technical support team and request transfer assistance so that they can restore your backups for you.
Step 5: Test your site/s
After you receive confirmation from the technical support team that your files have been restored, log into the account and make sure that everything is accounted for. You can check if all the files have been restored by checking WHM > List Accounts. Also, check if the websites are working as they should on the new server.
Once you are sure you have all your files on both hosting accounts, the next thing you need to do is update your nameservers. Your new web host will provide you with the correct nameservers. You should also contact your new web host to determine the DNS settings you should use for your domains.
After you get the correct DNS from your new web hosting provider, contact the company from which you purchased your domain name and request that they make the change. In case you purchased your domain name from your host, this means you need to ask them to make the changes for you.
Tip: DO NOT cancel your old account right away. You should allow at least 48 hours for DNS propagation. In some cases, DNS propagation can take up to 72 hours; therefore, terminating your old account before the propagation is completed can result in downtime for your client’s websites. It’s also important to remember not to cancel your domain registration if you bought your domain name from your previous web host.